
-
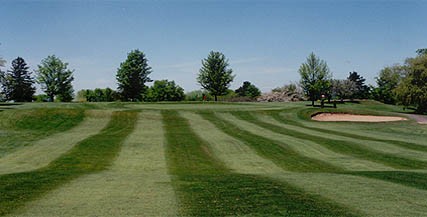
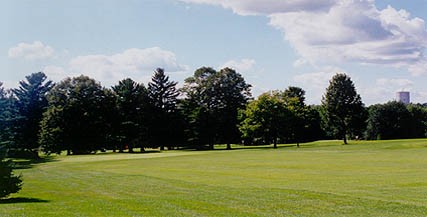
Hole #1
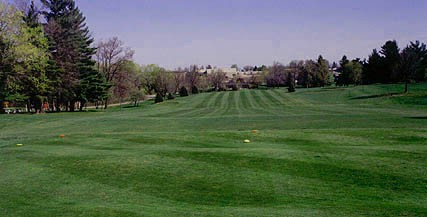
330 yds. (White) 337 (Blue) 288 yds. (Red) 292 yds. (Gold)
Hole number one is a straightaway par 4 that sets the tone of the course because of the shape and undulations of the green which slant right to left. The discriminating golfer will place his drive on the left side of the fairway which will give him a pitching wedge to 9 iron onto the putting surface. Regardless where the pin is placed, aim well right of it.
-
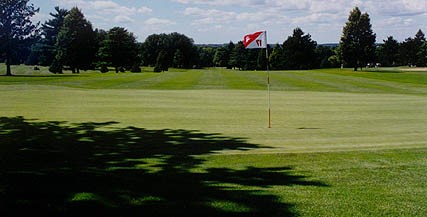
Hole #2
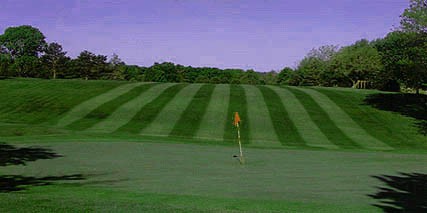
372 yds. (White) 454 (Blue) 368 yds. (Red) 418 yds. (Gold)

Hole number two plays as either a 372 yard par 4 (white) or as a par 5 (blue, red, gold). Be careful to keep your drive to the right of the fairway as there is a bunker on the left side that will swallow errant drives. The difficulty in this hole lies on the green. Regardless where the pin is placed remember never to be above it. Depending on the conditions, being above the hole will more often than not result in a three putt. Out of bounds along the entire left side.
-
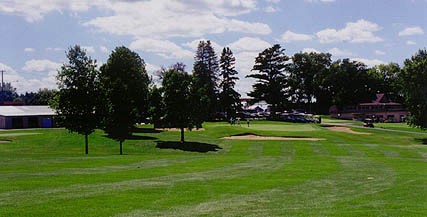
Hole #3
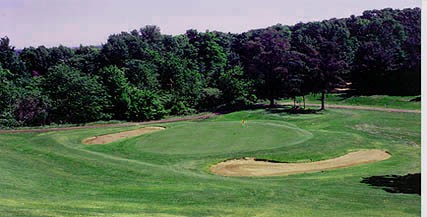
353 yds. (White) 359 (Blue) 240 yds. (Red) 244 yds. (Gold)
Hole number three at NCC is the signature hole playing 353 yards from the white tees. Unless the drive is struck well one will have a blind shot to the green. From the teeing area the drive should be aimed towards the right side of the fairway as it has a somewhat slant from right to left. The best position for your approach is the left side of the fairway. In mid summer it is not uncommon for a well struck shot to hit the center of the fairway and end up out of bounds left. The green is approximately 50 feet lower than the fairway so you will need one to two less clubs for your approach. Sand traps guard both the right and left sides of the putting surface and the back falls off eight feet to a lower level. Regardless where the pin is, aim for the center.
-
Hole #4

371 yds. (White) 373 (Blue) 297 yds. (Red) 300 yds. (Gold)
Hole number 4 is undoubtedly the most difficult par 4 on the course playing 371 yards from the whites. For the most part it is uphill all the way where one’s drive normally lands on an upslope preventing any roll whatsoever. Place your drive in the middle of the fairway (easier said than done with the out of bounds on the left and a severe slope on the right). The green is two tiered; when the pin is placed on the upper tier your approach is that much more difficult to get close to the pin.
-
Hole #5
185 yds. (White) 145 (Blue) 139 yds. (Red) 175 yds. (Gold)

Hole number five is a par 3 which has 2 sets of tees allowing one to play essentially 2 different par threes on your round of 18. The hole measures 145 yards from the blue tees and 185 yards from the whites. The cautious player will aim center to left of center to avoid a potentially large number by entering the bunker on the right of the green. When the pin is placed toward the front of the green the hole plays the most difficult. From the back tees, depending on wind direction, the club of choice can be anything from a 4 wood to a 7 iron.
-
Hole #6
321 yds. (White) 324 (Blue) 268 yds. (Red) 317 yds. (Gold)

Some would say hole number 6 is the easiest of the par 4’s at the course measuring a paltry 321 yards from the whites. However, there are a few items one should keep in mind prior to striking your tee ball. The powers that be determined a few years ago that the hole did indeed play fairly easy; as a result two bunkers were put in just about the distance an errant drive would come to rest – on both sides of the fairway. They certainly get quite a bit of use. Therefore, it goes without saying to direct your drive towards the middle of the fairway. The putting surface is perhaps, one of the smallest in size on the course yet has very subtle breaks most first timers seldom read. Be careful, and again, do not be above the hole. Keep your eye out for the bluebirds on this hole; there are 4 breeding pairs.
-
Hole #7
172 yds. (White) 206 (Blue) 163 yds. (Red) 167 yds. (Gold)

Hole number 7 is a par three playing from the whites at 172 yards and from the blues 206 yards. While the hole is somewhat downhill and the putting surface is in a slight bowl, reaching this green can become an accomplishment especially when the wind is blowing. Lastly, the par 3 seventh plays most difficult when the pin is set towards the front of the putting surface. It is not uncommon to hit short of the green on the right and allow one’s ball to roll to the green regardless where the pin is.
-
Hole #8
456 yds. (White) 369 (Blue) 362 yds. (Red) 396 yds. (Gold)
Hole number 8 is played as both a par 4 at 369 (blue) yards or a par 5 from the white, red or gold tee box. In either case, the yardage is deceptive in that it actually plays longer because it is entirely uphill. A well struck drive, will at most, run for perhaps three to four yards and at times not even that. Whether played as a par four or five it is best to place your drive from center to left side of the fairway. The putting surface is guarded on either side by bunkers.
-
Hole #9
497 yds. (White) 504 (Blue) 427 yds. (Red) 431 yds. (Gold)
Hole number 9 is a par 5 from all four tee boxes with a dogleg left. A very good finishing hole where the player rarely is putting his third shot. There is out of bounds left; aim for the right center of the fairway otherwise you will have to go over some very high pines at the corner. The large maple tree on the right side of the fairway is locally called the “270 tree”. Get it past that tree and you might be able to put it on in two, assuming you maneuver your ball over the front bunker and can avoid those on both the right and left edges of the green. Once on the green there are severe breaks to the cup depending on where the hole is cut.